


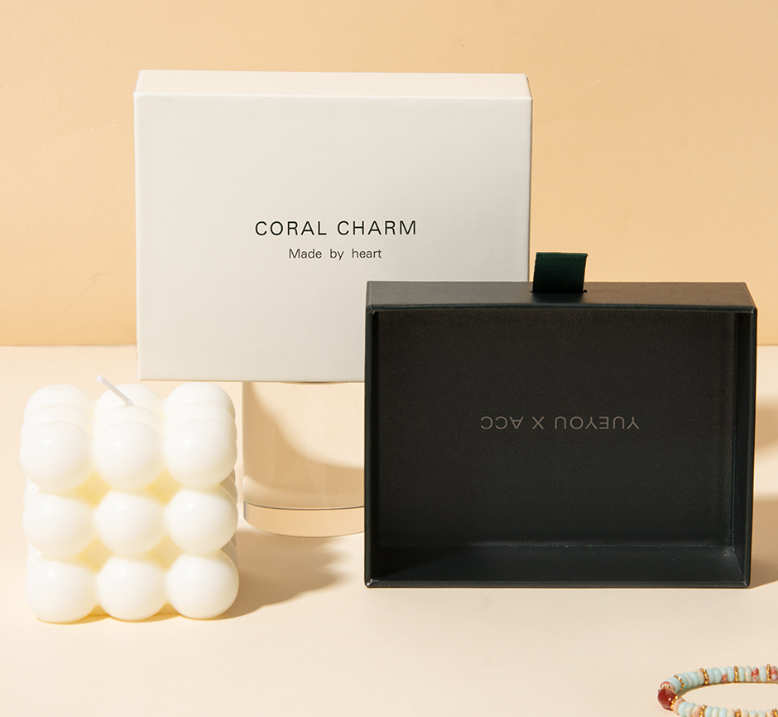
Boxes with a separate lid and base are versatile and sophisticated ways to present your products. These types of gift boxes can be used to present high-end clothing and even gourmet pastries. The design is simple and sophisticated.
If you have ordered these boxes flat to save on storage space, you may have a pile of boxes with no direction on how to start. The good news is assembling the boxes is easy. Whether you are assembling a box to be displayed as a gift or a box for a retail display, knowing how these boxes are folded and shaped will make a difference.
Understanding the two parts
Before you start, take a look at what you have. A standard two piece box has a lid and a base. They are typically shipped flat to conserve space. The lid is usually a bit larger than the base, so it fits over it easily. Plus, all the pieces have pre creased fold lines, and those should help you.
Different materials can also affect how the boxes look and feel. With methods like die cutting and offset printing, these boxes can be made strong enough to use good paperboard like other THICK paper materials. Some other boxes might be made to feel smooth and look premium with laminated paper, hot stamping, or even embossing. Regardless of how the boxes look or feel, the way the boxes are made is the exact same.
Getting the base ready
Start with the base piece. This is the part that will hold the actual item. Lay it flat on a clean surface with the printed side facing down if the inside of the box has a design, or facing up depending on the finish. You want the side that will become the interior to be visible as you work.
Identify the corners. You should notice diagonal crease lines extending from each corner towards the center. Gently fold along the diagonal crease lines. The goal is to shape the box by bringing the sides up. Along the corners, the sides will want to push up along the creases. You will also notice some small flags that will need to be tucked in or under. Most designs have these flags fold in to achieve a clean corner.
To help your box hold it's shape, sharpen your folds by running your finger against the edges. If the base has a separate bottom panel that will need to be inserted, make sure it is flat against the bottom before securing the sides. A good box will have these pieces designed to snugly fit without the need for glue. However, some construction may require a small amount of glue to create a permanent box.
Lid manufacturing
Lid manufacturing processes are similar to the base, but since the lid needs to fit over the box base, the manufacturing process needs subtle adjustment. Start with your lid piece facing down, flat on the surface. Again, you will see the same crease lines, but the dimensions will be slightly larger.
Fold the flaps down on the diagonal corner creases first. Next, you will bring the sides up on the straight fold lines. Like with the base, the corners will form flaps. For the lid, these flaps will usually fold outward or get tucked in, depending on your design. Make sure to have a nice and smooth surface on the outside where the folds are tight, and the edges are aligned.
As you progress, ensure you maintain an accurate fit. Once you have shaped the lid, place it over the base. It should sit just right, not too tight or loose. A good fitting lid means it slides on and off easiy, but will stay snug when the box is closed. If it's too tight, you may need to adjust your folds to make them sharper. If it is too loose, the paperboard may be too light, though this is usually not an issue with standard retail boxes.
Dealing with special finishes
These boxes may have special finishes that need you to be more careful when dealing with them. If there is lamination on the box, take care not to scratch it as you fold. It is best to fold on a clean towel or soft surface. If the box has hot stamping or foil finishes, be careful with the positioning of your hands so you don't damage the prints.
You should also check whether the box has high-frequency sealing on some parts. This sealing method can create a more durable sealed edge. When boxes with these features are being assembled, the folds are often designed to avoid the sealed edges so that stress isn’t applied to those sealed edges. The sealed edges can also be put under undue stress which is why cutting along the sealed edges is usually stressed against.
Making the assembly process easier
How the boxes are assembled also requires some organization. Set up a clean workspace. This is important for being able to organize the flat parts and to work modularly. First, create a box base. Once there is a sufficient number of bases, then create the box lids. This workflow allows a rhythm to be built.
Using a bone folder and an edge of a ruler are extra recommended for people working on thicker cardboards. This provides a better edge result than without and also helps the box keep its shape during usage.
If you’re planning on taking these boxes to a retail store, consider including tissue paper, ribbon, or other embellishments to the boxes once they’re assembled. A gift box that’s been assembled really provides a great surface. The box should be sturdily built to pull your display idea off.
Mistakes to avoid
One mistake, which is very common, is that during folding, people try to do things too fast but do things like pull the corners so that they become uneven. When folding, take your time. When you’re closing the box, the dividers should all be folded. If you forget this step, you will have corners that seem very misshapen and bulky.
One more problem that arises is confusing the top and the bottom. This is a simple mistake to make but, if you’re working with pieces that look similar, you may grab the wrong one. This is a common problem, but as a good habit, put them apart. Also, you should preferably do the base first so that you know how big the top should be.
When putting a box together, it is important not to use too much force. You may think that applying a bit of muscle will ensure that box stays together, but actually, it may lead to tearing. Instead, follow the creases, as they have been added intentionally to guide the box to be folded without it tearing or getting damaged.
WHY THE ASSEMBLY OF THE BOX MATTERS
It is important to ensure that the retails boxes are well assembled, as it reflects the quality of the items inside the boxes. Customer's first impression is of the packaging. Sloppy packaging job reflects poorly on the products.
For cosmetics, jewelry, baked goods, etc., the gift box adds on to the experience. When the box is well assembled, it shows that the seller is detail-oriented, and cares about presentation. This adds onto the customer perception of the product, and greatly increases the chance of repeat purchases.
As you construct a box shaped like a gift, it is important to remain calm. It is a mental shortcut to think it is difficult. Your box's design demands your full attention. The crease lines on your box serve a function. They assist you. When making a gift box, it is important to fold with purpose. When crafting your box, consider how the box's lid will fit around the base.
Finally, it is clear how useful the assembly is, regardless of whether you are making a few handmade gifts or a mass stock for a retail venture. An assembled box presents a professional appearance. It has a positive impact, even before it is opened. In the gift giving world, first impressions are the best.